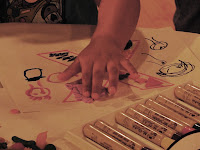
 Our youngest group then worked on leaf rubbings. I had the leaf pattern rubbing plates that I had bought from Sax (order number 076928). The children did a various rubbings on manila paper and then cut them out. They glued these onto another piece of paper, building animals, people, faces, etc.
 The next group used their collected materials to build their own Leaf Man... or butterfly, or flower, or... anything they could imagine. They glued the piece onto paper and added a other scrap materials that we had left over from previous classes.
 **Note- Elmers is NOT strong enough for this. Craft glue would have worked much better.
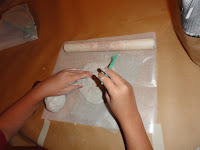
 The last group built a leaf man face out of air dry clay. I had them place the clay onto a piece of wax paper. They rolled the clay out and built the face first. They used pieces of clay to create their own leaves, berries, grass, etc. Those that had brought their own natural elements used these to add fun details to their faces.


