I'm not who has and hasn't written grants through Donor's Choose before, but this is a great way for teachers to supplement their budgets by writing grants.
A couple of years ago, I wrote one and had a beautiful color printer funded for my art room. I hadn't done one since then, until this year. I just finished writing 2.
The first one is for Sharpies, which we go through like crazy! They eat up a big chunk of my budget, so I decided to try writing a grant and get that part funded so that I could put my budget towards other materials:
Markers, Markers and More Markers
The next one is for a document camera. Ideally, I want to use this to video my demonstrations while I do them for the class and then I can post them onto my classroom blog so that students and parents can watch them:
Larger Than Life
As of today, both are about halfway funded!! Yea! So exciting!
If you have an idea of what you would like for your classroom, the actual process is very simple and the website walks you through it step by step. I would highly recommend it!
Pin It
Wednesday, October 10, 2012


Wednesday, September 26, 2012
Fourth Grade Sketchbooks

I had my faculty bring me all of their boxes (cereal, cracker, cookie, etc). I cut them so that they measured 9" x 12".


First, it was easier to get through all of the paper and cardboard.
Second, I didn't want anyone poking themselves with anything smaller.
These worked really well. I threaded the needles for them for time purposes, but you could always allow the students to do it themselves, if you have the time.


The students used their threaded needle to sew their pages together. I did all of the knotting (again, time constraints).
I don't know if anyone has seen all of the fun duct tape that has come out lately, but I have been collecting it every time I go to Walmart. Each student was allowed to pick their tape and this was used to bind their book.


Pin It
Monday, September 24, 2012
Prekinder Shape Self-Portraits
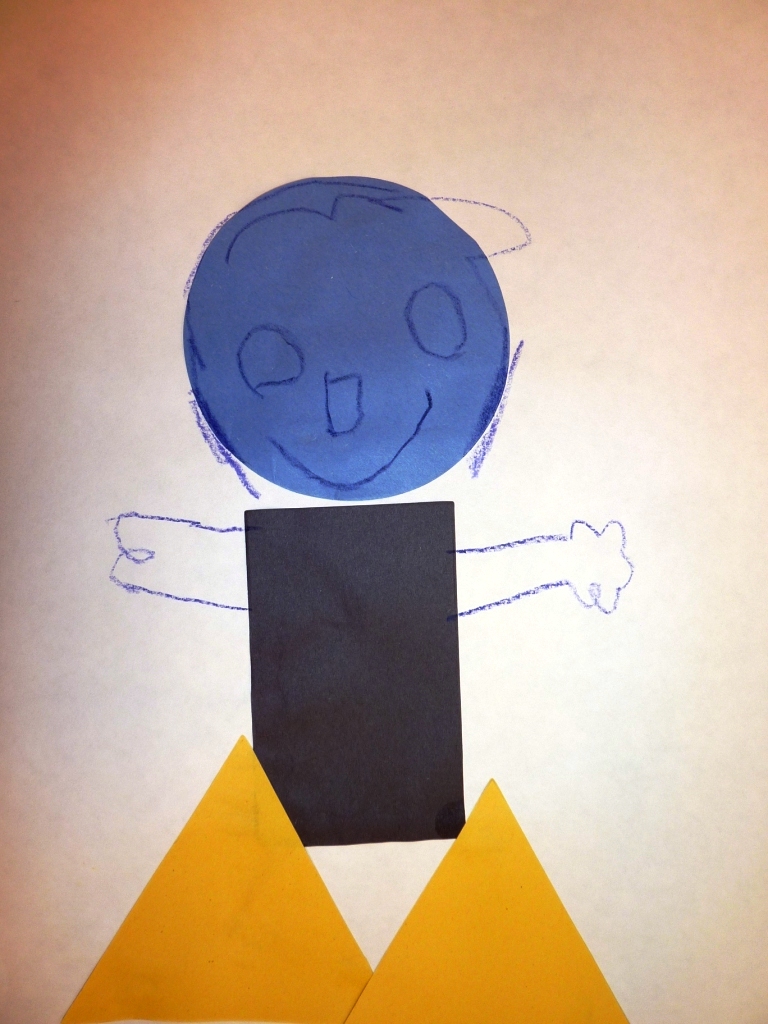
For my precious little 4 year olds, we started the year by doing a self-portrait. Now for the majority of these students, this is their first exposure to any form of school. They have never used scissors, glue, markers, etc., so we are starting out very slow.
I found a great YouTube video for 3 basic shapes- square, circle and triangle. I warn you, though, it will be stuck in your head for the entire day.....
Then I showed them how to make a self-portrait using shapes (circle, triangle, square and rectangle). The goal of this was exposing them to using glue, so I demonstrated the "just a dot, not a lot" mantra.
For the next class, they used crayons to add eyes, nose, mouth, hair, and any other details that they wanted to add in.
 This little one has his arms raised over his head...
 Another one with his arms in the air.
 Love the feet on this one.
 She wanted to make ears, so the only shape that worked for her were the triangles.


Pin It
I found a great YouTube video for 3 basic shapes- square, circle and triangle. I warn you, though, it will be stuck in your head for the entire day.....
Then I showed them how to make a self-portrait using shapes (circle, triangle, square and rectangle). The goal of this was exposing them to using glue, so I demonstrated the "just a dot, not a lot" mantra.
For the next class, they used crayons to add eyes, nose, mouth, hair, and any other details that they wanted to add in.




Pin It
Wednesday, September 5, 2012
5th grade sketchbooks
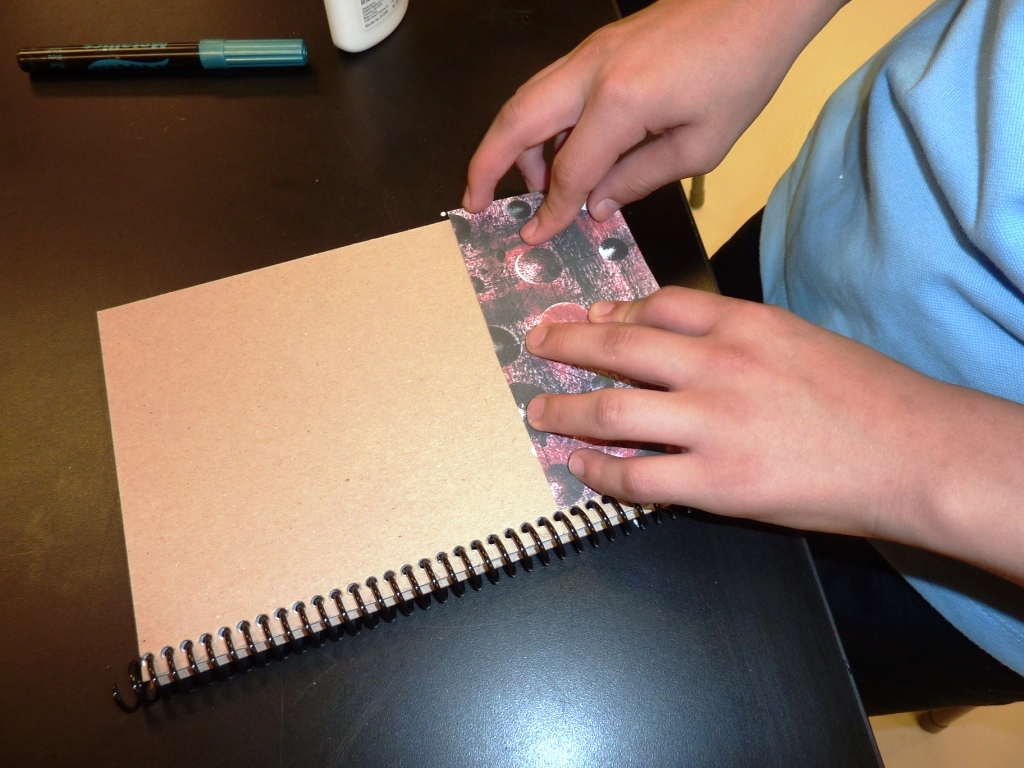
5th graders have begun making their sketchbooks for the year. I bought the same book making pack that I did last year (5th grade sketchbooks), however, this year, I decided to leave the activity more open ended. I brought out a variety of different materials:


Pin It
markers, Crayola Color Sticks, colored pencils, scrapbook paper, old greeting cards, stencils, sequins, etc.
I showed them some things that they could possibly do and then left them to their own devices to create their own unique designs.
They are still in the process, but here are a few in the works:




Monday, June 25, 2012
Subscribe to:
Posts (Atom)