Showing posts with label self-portrait. Show all posts

Tuesday, June 17, 2014

Tall Tales Summer Program- Day 1

We started our summer program today. The book for today was Too Much Glue by Jason Lefebvre. 

Not only did the children love this book (predicting what was going to happen to Matty next), but the parents enjoyed it, too. I have a feeling it reminded them of their little ones.

After reading the book, we broke off into our three groups and began making art.

Our first project was a glue shirt. I found this idea at Painted Paper. I had a pattern for the children to trace onto a piece of paper. They cut out the shirt and then folded the shirt in half. They painted on 1 side and then created a print by refolding the paper. Then they decorated the shirts with yarn and hole punches, sequins, foam shapes, scrapbook paper and any other random materials we could find.


Our second project was a "stick puppet", which I found at K-6 Art. They started out by gluing precut pieces of corrugated cardboard onto a large piece of paper. Some of the students got creative and cut their cardboard into the shapes that they wanted. They decorated these with buttons, sequins, yarn, scrapbook paper, tissue paper, and any other materials that they could think of.


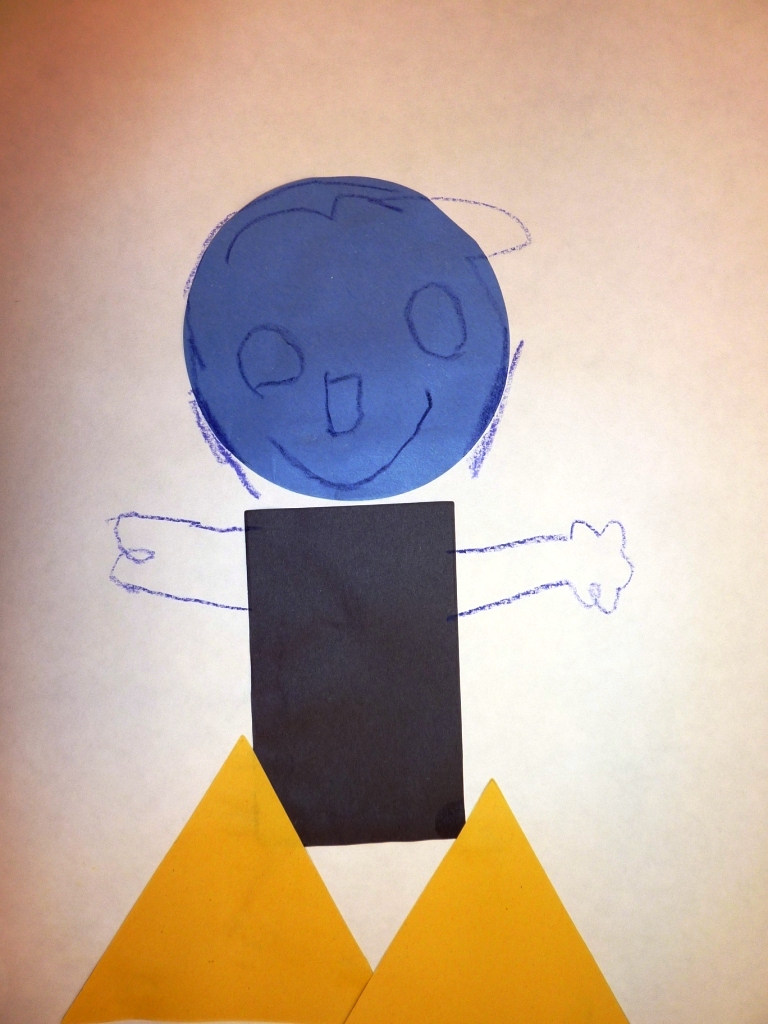
The last project that the student worked on was a self-portrait (Pinterest). They cut out a body from a large piece of paper. It was decorated with a variety of materials. While they were working on this, the teacher walked around and took a picture close-up picture of each child. These were printed out and then glued onto the bodies. I only got 1 picture because these took a little longer to complete.
The students were able to complete all 3 projects in a 2 hour time period (with the help of their parent/caregiver, the high school volunteers and 3 teachers).

For our first day..... 60-70 children plus adults! Tomorrow's book.... Zonk, The Dreaming Tortoise by David Hoobler.


Pin It

Monday, September 24, 2012

Prekinder Shape Self-Portraits

For my precious little 4 year olds, we started the year by doing a self-portrait. Now for the majority of these students, this is their first exposure to any form of school. They have never used scissors, glue, markers, etc., so we are starting out very slow.

I found a great YouTube video for 3 basic shapes- square, circle and triangle. I warn you, though, it will be stuck in your head for the entire day.....


Then I showed them how to make a self-portrait using shapes (circle, triangle, square and rectangle). The goal of this was exposing them to using glue, so I demonstrated the "just a dot, not a lot" mantra.

For the next class, they used crayons to add eyes, nose, mouth, hair, and any other details that they wanted to add in.

This little one has his arms raised over his head...
 Another one with his arms in the air.
Love the feet on this one.
 She wanted to make ears, so the only shape that worked for her were the triangles.


Pin It

Thursday, July 7, 2011

Third Grade Picasso Portraits

I have seen many versions of this project- here is my spin on it:

My third graders learn how to draw a self-portrait. I teach them how to divide the face, which proportions to use and they get to work drawing their portrait from the front. After they have finished, they trace over it with a black marker- pretty basic.

Then I show them how to draw their portrait as a profile. This one takes them a little longer. Again, we talk about measurements, proportion, etc. When they are finished, they trace this one with black marker also.

At this point, they have 2 different portraits, on 2 different pieces of plain 8 1/2 x 11 xerox paper.

Then I give them a 3rd piece of paper. I have them trace their first portrait and then set it aside. Then they take their profile and place that one underneath. They can move it around to wherever
 they think it looks best and they trace that one. They have now combined both portraits into 1 single, Picasso-ish portrait. After they have traced both portraits, I have them take the 2 originals home, so that they don't get them confused.

For the next step, I give each student a transparency. (With the advent of SmartBoards and document cameras, the teachers at my school have given me TONS of transparencies. I used to have to buy them every year, but now I have a supply that should last me for years to come!)

They tape their Picasso portrait to their transparency so that it doesn't move around. I have them trace the entire portrait with a permanent black marker.

Then it's time to color. We use oil pastels to color the different sections that were created by combining the 2 portraits.
 I stress to the students that no white paper (the paper that is still taped to the back) should be showing through, so this helps them know if they have colored enough with their oil pastels.

When they have completed their oil pastels, they remove the white paper from the back and they pick a piece of construction paper that is complementary to their background and I staple it to their project. Make sure that when you staple them, the oil pastel is touching the paper (the shiny side/uncolored side of the transparency should be face up).

The last step is to use gel pens/markers to add patterns. Again, the students use complementary colors to fill in the spaces with a variety of patterns.

I used to use Phooey Gel Markers, but now I can't find them anywhere. They had the best overall effect and lasted the longest when a grade level of 120 students were using them.

For the last few years, I have been experimenting with a variety of gel pens and markers and have not found anything that works quite as well. If anyone has any suggestions, please feel free to leave a comment. I would love the ideas! Pin It

Friday, June 17, 2011

Kindergarten Self-Portraits

After we did the last lesson with shapes, we moved into a project where we created a self-portrait. Except for this self-portrait, we used die-cut shapes. I had a parent volunteer fill a plastic container with small die-cut shapes. I also had her cut large ovals and circles that the students could use for their heads.

We started out by gluing on the head. We figured out where the best spot would be to glue it. Most of them figured out the gluing it in the middle of the paper would not be the best spot, that gluing it near the top would work better. At this point, I also reminded them that they were to use glue dots so that their paper would not end up full of glue.

Once they had their head glued on, they used the other shapes to add their body, arms, legs, fingers, feet, eyes, etc.

They were not allowed to use pencils, crayons or scissors at all. This was very difficult for many of them. I kept finding some of them trying to sneak in a crayon or reaching for the scissors. This was a new way for them to look at themselves and the shapes that make up our bodies.

Pin It