I adapted last year's pagoda lesson to allow for more choices on the part of the students. They were able to choose between printing, drawing and sculpture.
The printing project was the same project that was completed last year: Pagoda Printing
For the drawing project, the students drew the pagoda they wanted. I had them trace their composition with a black Sharpie and then they colored them using Crayola Color Sticks. For this project, I did a lesson on basic shading. They decided where they wanted the light source to come from and then used the Color Sticks to create light and dark areas in their building.
The sculptures were made out of 100% recycled materials: cardboard, bottle caps, cork.... basically if they found something they wanted to use, they went for it. Then the used tempera cakes to paint them. I think next year, we might try acrylic. The tempera didn't have the vibrancy that I was looking for.
I start out by showing the students this PowerPoint I found:
The students then had to plan their project in their sketchbooks. I had them decide on which project they wanted to do:
folded paper (to create 8 sections)
folded paper with a CD in the middle
print
hexagon
They had to decide if they were going to use geometric or organic shapes for their design and then which color scheme they wanted to use: primary, secondary, complementary or monochromatic.
While they were working on their plans, I began meeting with each group and helped them get started with the initial steps in their projects- folding paper, using compasses, dividing up their Styrofoam for their prints, etc.
As the project progressed, I met with the different groups to discuss their next step. How they needed to add color- using markers, Color Sticks, crayons, ink, etc.; how to build their hexagon, etc.
The students seemed to really enjoy that their projects had the chance of being completely different than everyone else in the class. I am really hoping that as we go along, they will start to think outside of the box and present ideas to me as to what they would like to do.
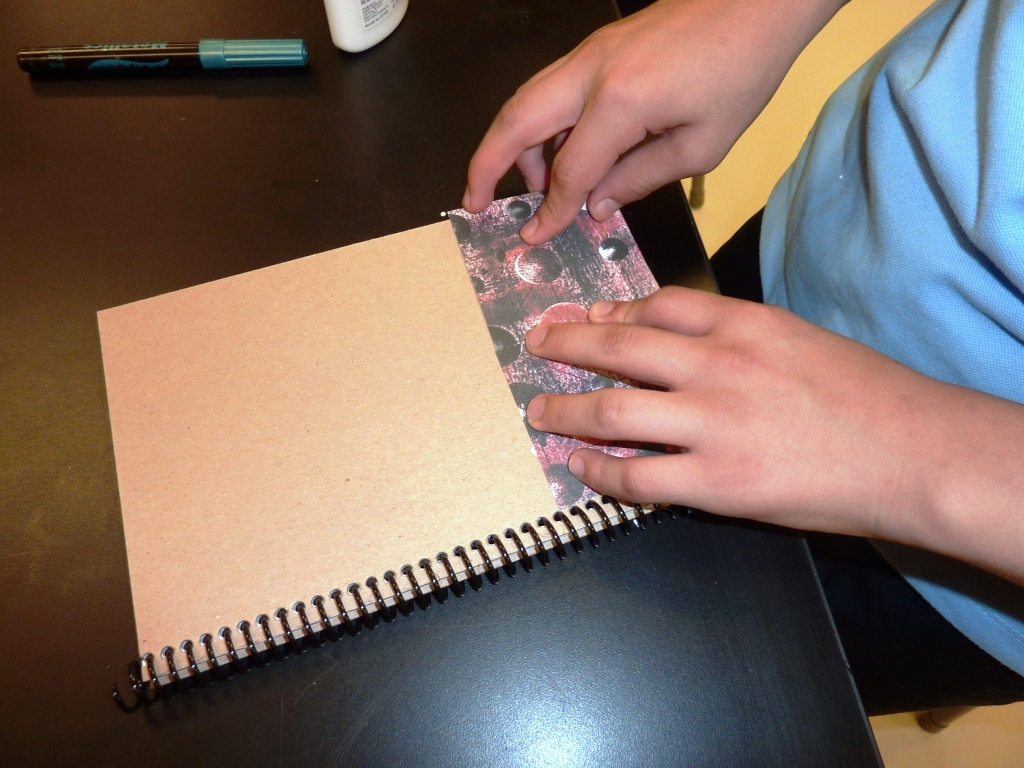
5th graders have begun making their sketchbooks for the year. I bought the same book making pack that I did last year (5th grade sketchbooks), however, this year, I decided to leave the activity more open ended. I brought out a variety of different materials:
markers, Crayola Color Sticks, colored pencils, scrapbook paper, old greeting cards, stencils, sequins, etc.
I showed them some things that they could possibly do and then left them to their own devices to create their own unique designs.
They are still in the process, but here are a few in the works:
I found this lesson plan in one of Sax's lesson plan booklets- Mosaic Embellished Boxes. The students had a great time with this, however, I have to say, that the pre-made tiles got pretty expensive. If I do this one again, I will focus more on having the students make their own tiles using FIMO clay or maybe even having them make some with Longhorn white and then glazing them.
However, since this was the first time doing this lesson, I stuck with the plan as is (live and learn). I connected this to Byzantine mosaics, thus keeping with our focus on Art Around the World. We looked at a variety of mosaics found throughout Europe and Asia and noticed colors (lots of gold) and features.
The students chose a color scheme and then I had the students paint their boxes with acrylic paint first (inside and out). Then they measured out a piece of graph paper that fit the top of the box, so that they could plan how they wanted their design to look.
I had a variety of glass tiles in different sizes that they were allowed to use (for this year- probably not next year, or I might need to limit how many of these are used).
Once their design was ready, I showed them how to use FIMO clay to make any special tiles that they wanted. They used different texture plates and clay tools to make these unique. When they were ready, I put them into the toaster oven and baked them for 30 minutes and then saved them in a ziplock bag for each class. This is another aspect that I need to refine. We had a hard time sorting out the handmade tiles once they were baked. The larger tiles had room for the students to carve their initials into (on the back). However, the tiny ones, didn't have room and it got very confusing when we needed to pass out tiles.
Once all of the tiles were ready, we used adhesive to stick them onto the lid, following the plan that was created at the beginning of the project.
I had then had a variety of beads, sequins, bottle caps and other randomness for the students to add embellishments to their boxes.
I will definitely be doing this project again, but will need to rethink the logistics before putting it into action!
I found this lesson in the April 2011 issue of School Arts magazine. I started the
project out by reading the students the book Nadia's Hands by Karen English and
Jonathan Weiner. Then we discussed what Mehndi is and compared it to tattoo art,
which, of course, they are all fascinated by.
I found this wonderful Power Point by Linda Welling that had some great info and really nice photos (I have used a lot of her Power Points in my art room and would like to thank her for the resources and the time and hard work that she has put into them!)
I had them trace their hands onto a piece of watercolor paper at least 2 times.
At this point, I found a couple of YouTube videos that gave good demonstrations of Zentangles.
I had a wide variety of Zentangle resources ready for them to use. They divided each hand into at least 3 sections and then filled each section with a different Zentangle pattern using a fine point Sharpie marker (just an FYI- we went through a LOT of markers- with 120 students, I had to keep a supply on hand).
Once the hands were filled with patterns, they chose their color scheme. I demonstrated how to do a wet-on-wet wash and they filled in the background using liquid watercolors (I have pretty much stopped using the pan watercolors- the liquid lasts so much longer and the colors are beautiful!), letting the colors bleed together.
OK, fellow art educators! I am in the process of having all of my kindergarteners take photos of themselves and edit them on a website that was shown to me- Be Funky. Their self-portraits are turning out so great, that I want to get them published into a book for our school library.
The question for you is- where can I get this done fairly inexpensively? I don't want to spend a fortune since it will be coming out of my own pocket. Any suggestions will be greatly appreciated!!!!
Has anyone done this already? How did you go about doing it?
I am also doing the same thing with my 5th graders, but I am going to take their photos, print them out and mount them on a canvas to leave at my school as a legacy project. Can printed photos be covered in Mod Podge? Or is there something else that I can use?
Pin It
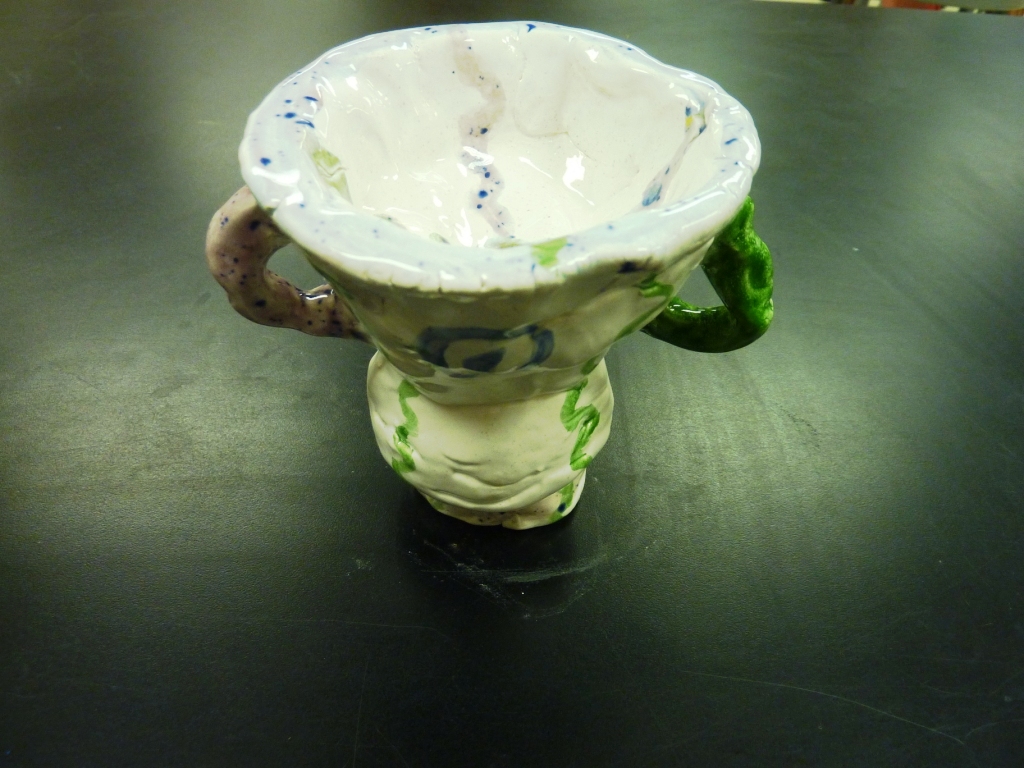
Fifth grades study of Asia moved on to the Ming Dynasty. The students looked at different examples of Ming pottery. I showed them pieces of varying sizes and shapes and then we looked at how they were painted.
The students designed their own version of a Ming vase in their sketchbooks. I told them that we would be glazing the entire piece solid white and then they would be able to choose their own color scheme to add their design, instead of using only blue, as in the Ming vases.
On the day that we were ready to start the clay, I used my extruder (for the first time!) to make coils for the students. Ideally, I would have loved for them to use the extruder to make the coils themselves. However, since I only have 45 minutes and there are almost 30 students, I expedited the process by having them pre-made.
I gave each student a piece of clay to make a basic pinch pot. Some of them made bowls and others worked really hard to make the forms that they had seen the previous week.
I told the students that they had to use at least 1 coil in their project, but it was up to them how it was used. Some of them stuck with only 1 coil. However, many of them went wild with the coils! They loved it!
I absolutely love how different each vase/pot looks.
I fired them and the next week, I had them use opaque white glaze to cover the entire project. I pre-poured glaze into cups and my rule was that they had to use every drop in the cup. That was my
way of knowing that they were using enough glaze
to coat the entire piece.
Then I had plates with different color schemes set up. My students are fascinated with cool colors, so many of them used that color scheme. However, I did get a few monochromatic pieces and a few complementary colors.
I currently have all of their pieces on display in our glass case in the entryway of our school. They look so nice!
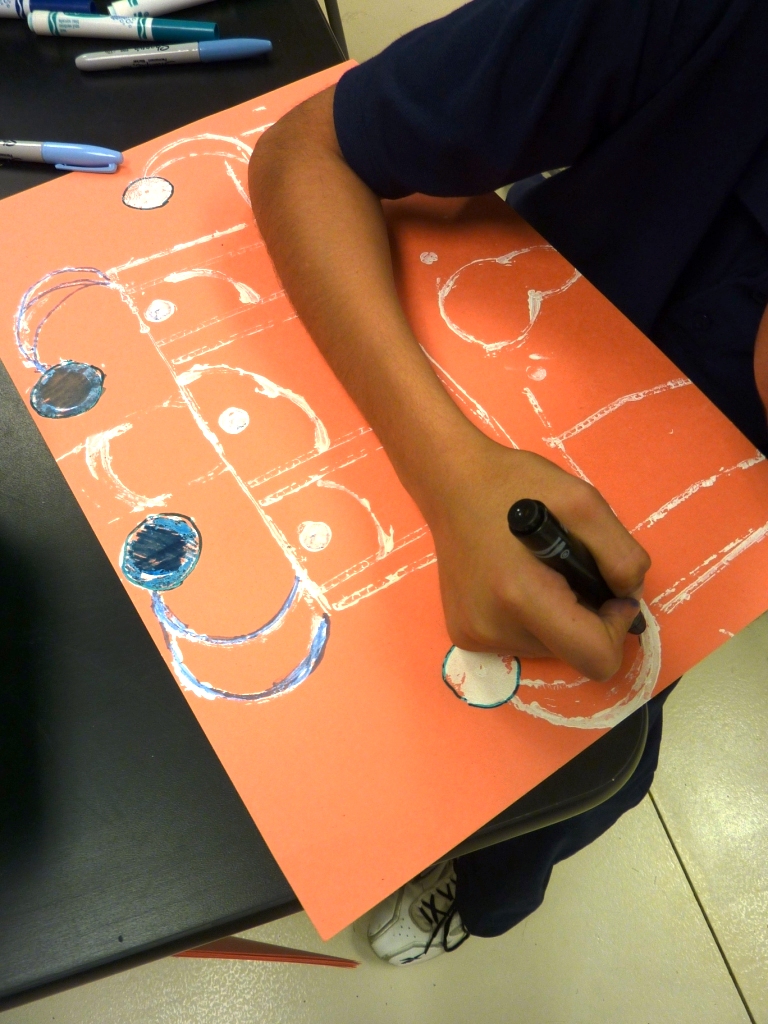
This is an idea I got from the teacher resource Thinking With a Line. I have used the printing ideas previously, but only with PreKinder, Kinder and 1st. I decided to try an activity on architecture with my fifth graders. Since fifth grade is learning about Asia, we focused on pagodas.
We looked at different examples, the lines that were used in them and I had them plan out their building in their sketchbook.
Then I gave each table a basket of printing tools: corrugated cardboard, 1/2 circles (tape rolls that I cut in 1/2), blocks, marker caps, bottle caps, pretty much anything that I thought might make an interesting print.
Each student picked a piece of construction paper and began building their pagoda using white acrylic paint- this was a change for them, since they are used to using black as their outline for everything.
The next week, we discussed color schemes. We reviewed old ones (warm, cool, primary, secondary, complementary, monochromatic) and I threw in a new one (analogous). They had to choose 1 color scheme for their entire pagoda. I gave them a basket with a variety of materials: tempera cakes, watercolors, Sharpies, watercolor markers, color stix, oil pastels. They could use as many as they wanted, as long as they stuck with their scheme.
I was very impressed with the results!
 I adapted last year's pagoda lesson to allow for more choices on the part of the students. They were able to choose between printing, drawing and sculpture.
 For the drawing project, the students drew the pagoda they wanted. I had them trace their composition with a black Sharpie and then they colored them using Crayola Color Sticks. For this project, I did a lesson on basic shading. They decided where they wanted the light source to come from and then used the Color Sticks to create light and dark areas in their building.