Last year's mandalas: Mandalas 2011
This year:
Pin It
Monday, June 25, 2012
Third Grade Great Barrier Reef
In year's past, 3rd grade's clay project has been fish- Third Grade Clay Fish
After looking at the PowerPoint, we brainstormed as many different animals as we could think of who live in the Great Barrier Reef. Each student had to create 2 drawings in their sketchbooks of different animals. They were allowed to use the resources that I had available for them or use the Netbooks to look up animals.
Once we had our drawings ready, I did a demonstration of how they could use the clay to build their animals.
Here are some of the animals that were created:


Pin It
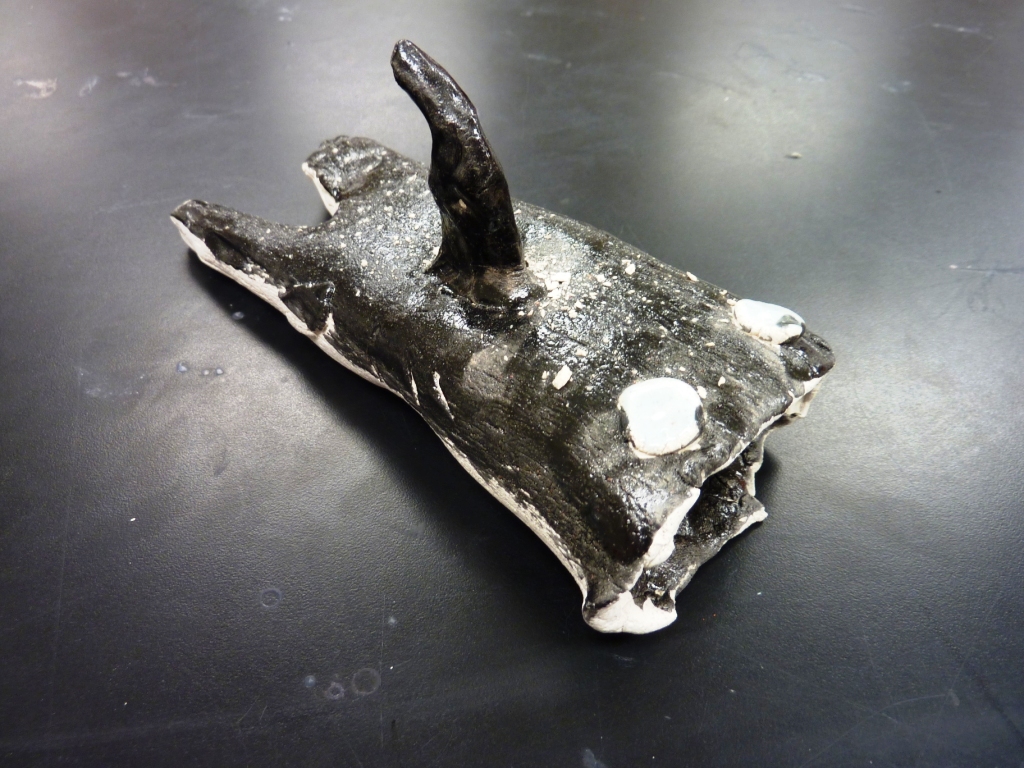
This year, in keeping with 3rd grade's study of Australia, their clay project was about the Great Barrier Reef.
I found this great PowerPoint online (unfortunately, I don't know who created it, so I can't give the appropriate credit. Sorry!)
After looking at the PowerPoint, we brainstormed as many different animals as we could think of who live in the Great Barrier Reef. Each student had to create 2 drawings in their sketchbooks of different animals. They were allowed to use the resources that I had available for them or use the Netbooks to look up animals.
Once we had our drawings ready, I did a demonstration of how they could use the clay to build their animals.
Here are some of the animals that were created:


Pin It
Fourth Grade Canopic Jars
Here are our projects from last year, including the wonderful YouTube videos that I show the students:
And here are the finished projects:
Pin It
This year, I put together a PowerPoint:
And here are the finished projects:
Pin It
PreKinder Mother's Day
For Mother's Day this year, my PreKinder students did a very simple technology project. I started out by taking a picture of their hands forming a heart shape. I loaded all of these onto my computer.
I cut posterboard for each student to create a frame for their photo. I put a basket of random trinkets on every table (sequins, buttons, beads, foam shapes, etc) along with Ayleen's Tacky Glue.
While the students worked on decorating their picture frames, I called each child up to sit with me at the computer. I opened up the photo of their hands and had each student type their name in the center of their heart. This worked beautifully for my PreK students who spend the year learning the alphabet, how to write their names, etc.
Pin It
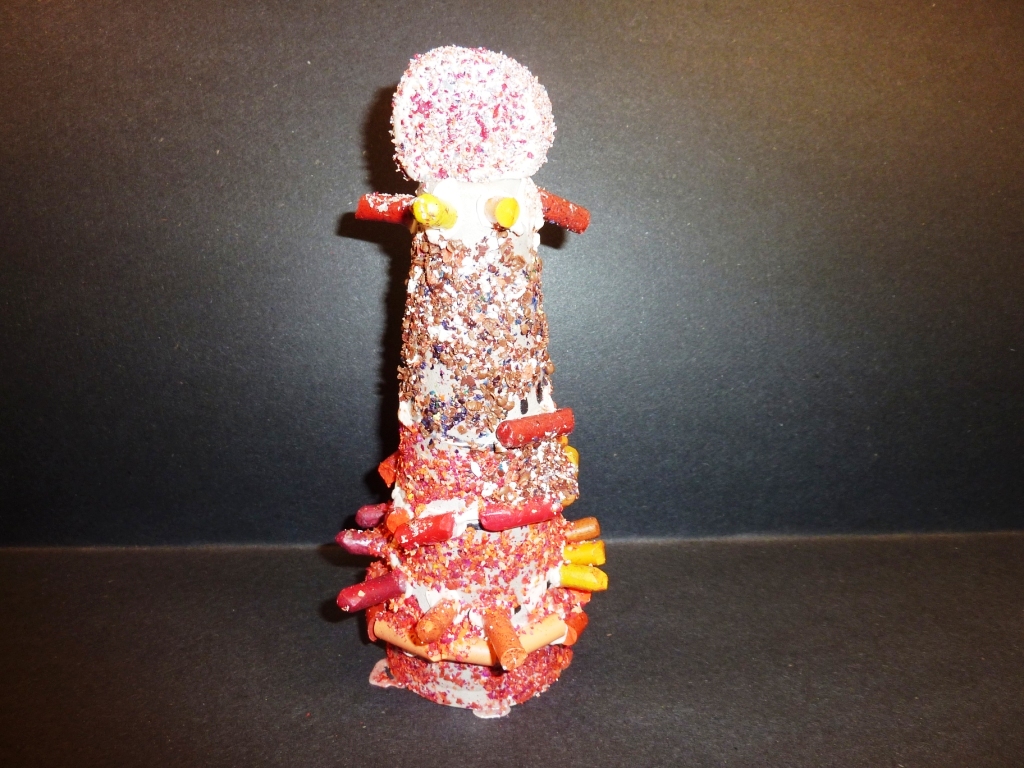
First Grade Gaudi Towers

As soon as I saw it, I knew I had to try it out. When I became the art teacher at my school, I inherited TONS of large cardboard spools. They were perfect for this project!
We started out by looking at a variety of images of Antoni Gaudi's sculptures. The students loved them! They were unlike any other scultpure they had seen previously.

Here is were I adapted the project from the original. In the original, it has the entire spool covered in air dry clay. With over 100 students working on this project, that was not a cost-effective way to do this. So what we did, was I had they students cover only their lines with air dry clay.

They had to cover all of the lines that they had drawn with the black marker, using clay and crayons.
Once this was finished, we got out the cheese graters.

We had a lesson on how to use the graters safely, so that no fingers got injured and they used them to grate crayons to create "sprinkles".
They spread glue onto the areas of the spool that did not have clay and then sprinkles the grated crayons on.
The last step was to create a 3 dimensional form for the top of their tower.

I gave them clay and they made their form and glued it onto the top of their tower. Then they were allowed to decorate them with crayons and sprinkles.


Pin It
Subscribe to:
Posts (Atom)