Since we are starting a brand new year, I thought I would post some pictures of my classroom set up. Some show my basic organizational strategies, some are wall displays, discipline, etc. I would love to see your rooms! If you have pictures, leave your blog address so that we can check out your space. I am always looking for new ways to organize my room.
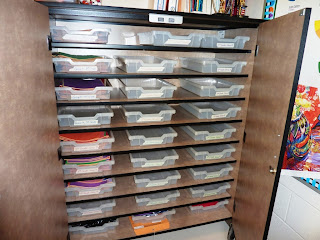
Class sketchbooks
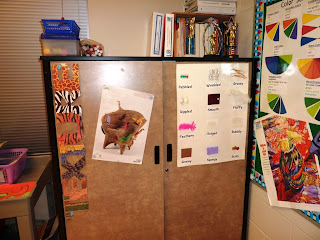
Outside of sketchbook cabinet
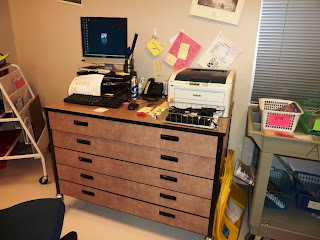
No room/need for a desk- I just use the top of a paper cabinet for my personal workspace.
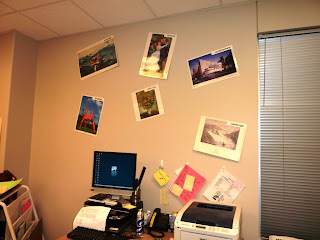
Seascape, portrait, architecture, sculpture, still-life and landscape art prints
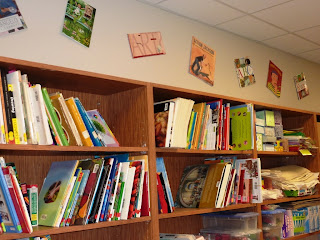
Art books and book jackets displayed above cabinets. We are not allowed to use this space for storage- it is against fire code. So I use it as display space. No wasted space!!
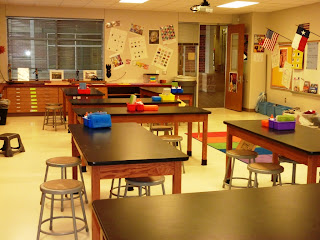
I have 8 really large tables. It is very hard to find a good placement for them all. I have tried placing them together to great larger tables. This year, I am going with this configuration. We will see how this works once we get going on projects...
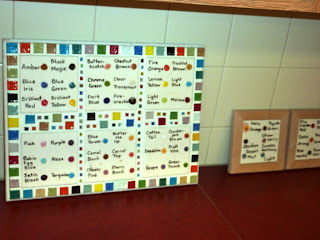
My elementary students have a hard time grasping the concept that glaze changes (sometimes drastically!) once it is fired. Therefore, one year, I decided to create a visual for them. A dab of each color that I had (I try to keep up as I order new and fun colors) with the name next to it. Then as we work on a clay project, they can go see what the color will look like on their finished project.
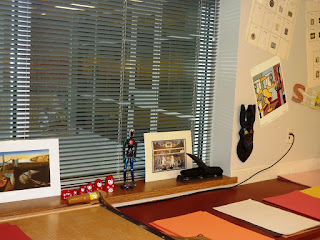
Window display
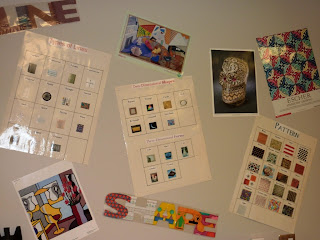
Wall display
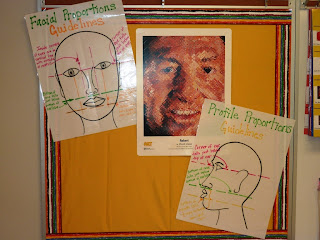
Bulletin boards
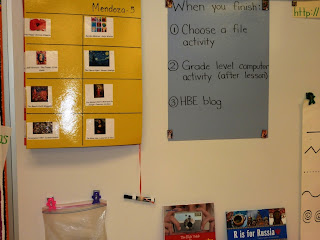
Table points, after you finish your work...
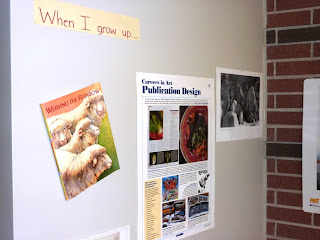
Outside of the artroom: art career awareness. I try to change this out once a month. Our school really focuses on career awareness, so this is my contribution.
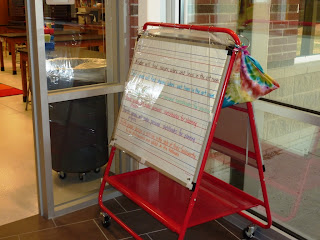
I post my daily objectives outside my door. I got tired of having little fingers erase my board, so I bought a cheap shower curtain. I cut it to fit the board and strategically placed pieces of velcro around the outside. Now I can just lift the plastic when I need to change the objectives. So much easier and less frustration!!
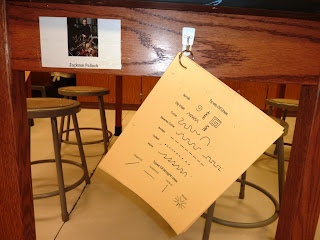
Each table is labeled with an artist. This is how I call tables to get materials, line up, etc. I also xeroxed basic drawing tips (lines, patterns, shapes, facial proportions) and hung them on hooks at each table. Now there is a quick reference at their fingertips!
Pin It
 My first graders are going to be learning about European artists this year and the first one to kick off the new year- Pablo Picasso. They loved looking at his portraits and how he made the eyes look like they were looking out at you and also like they were looking off to the side (the profile). They thought it was very silly that the eyes were not aligned in many of the portraits and how he made many facial features different sizes. They noticed that he didn't always use realistic colors to paint his portraits.
 We started our portraits by drawing the head. I let them decide what shape they wanted to use. They could use the standard oval shape or be creative and use a non-standard shape. I had some use triangles, rectangles, squares, etc. Then I had them draw a neck and add 2 lines going out from the neck to create the shoulders. I then had them add hair and told them to make it big and wild. They drew a line down the middle of the face to create the nose and then traced everything with a black marker.
 We did a quick review of warm and cool colors (something that we had done previously in Kindergarten) and then they used liquid watercolors (I have pretty much given up on using the regular watercolors. The liquid have a much nicer color and I don't have to replace them every day!) to paint their face with either warm or cool colors. They drew the eyes and nose on a separate sheet of paper, drawing 1 eye facing forward and the other in profile and then I had them draw a BIG mouth. Again, they traced them with black marker and painted. Except this time, they painted with the opposite color scheme.
 They cut out the heads and glued them onto a piece of construction paper, remembering to use dots of glue to keep it neat and then cut out the eyes and mouth. We reviewed the placement of the eyes in Picasso's paintings and they set to work gluing the facial features on their portraits.
 There were lots of giggles as they were assembling their projects. They thought they were really silly!!!