Here is a fun project that I did with my 2 PreK classes for Valentine's Day.
I gave each child a slab of clay. I had bought 6 heart cookie cutters and they used these to cut a heart shape out of the clay. We used a straw to poke a hole in the top of the heart, so that we would be able to add a ribbon once they were finished.
I put a texture plate at each child's place and they used this to create a unique texture on their heart.
For the next class, the hearts had been fired in the kiln and were ready to glaze. I had cups of glaze ready in the 6 basic colors (red, yellow, orange, blue, green and purple). They came to the counter and chose one cup and glaze their entire heart with this color. When they were finshed, they returned the cup and sat on the carpet.
I showed them how to use a small brush to paint a simple pattern on their heart, using a second color. They went back to the counter and chose a different color to add their patterns (using the cups that we had used from before, so that I only had to prep the cups 1 time).
After I fired the hearts 1 more time, we were ready to add a ribbon. I prepared the ribbons by adding a piece of tape to each end so that they would be able to push the ribbon through the hole. Then they were allowed to get 3 beads for each end of the ribbon (6 total). They brought their heart to one of the adults in the room and we tied the ribbon into a bow.
Happy Valentine's Day!
Pin It
Showing posts with label clay. Show all posts
Wednesday, February 12, 2014
Monday, November 11, 2013
Retirement Centerpiece
A couple of weeks ago, I was asked to have some students create a centerpiece for a retirement party for one of our district personnel.
Since we were working on such short notice, it had to be something that could be worked on before school (I pulled a handful of students who are here early) and it had to be something that I had materials handy for.
Ceramics!
I used my extruder to create a tray full of coils. The students used the coils to build a bowl. I had them build it around a large plastic bowl that I had handy in the room, using it as a mold.
I have these cute little sun molds that the students used to add decorations to the outside of the bowl.
It dried pretty quickly, so I was able to fire it within a couple of days of building the bowl.
Once it was fired, the students chose the colors for glazing.
They wanted it to be bright, happy and colorful- blue, red, purples, yellow and orange!
I fired it one more time and am quite happy with the results of our spur of the moment, 1 week project!
I just happened to have some paper mache fruit that my first graders had finished for our Cezanne project.... Ta da! A retirement centerpiece!
Pin It
Since we were working on such short notice, it had to be something that could be worked on before school (I pulled a handful of students who are here early) and it had to be something that I had materials handy for.
Ceramics!
I used my extruder to create a tray full of coils. The students used the coils to build a bowl. I had them build it around a large plastic bowl that I had handy in the room, using it as a mold.
I have these cute little sun molds that the students used to add decorations to the outside of the bowl.
It dried pretty quickly, so I was able to fire it within a couple of days of building the bowl.
Once it was fired, the students chose the colors for glazing.
They wanted it to be bright, happy and colorful- blue, red, purples, yellow and orange!
I fired it one more time and am quite happy with the results of our spur of the moment, 1 week project!
I just happened to have some paper mache fruit that my first graders had finished for our Cezanne project.... Ta da! A retirement centerpiece!
Pin It
Saturday, November 24, 2012
Third Grade Great Barrier Reef
Labels:
Australia,
clay,
fish,
glaze,
Great Barrier Reef,
third grade
Monday, June 25, 2012
Third Grade Great Barrier Reef
In year's past, 3rd grade's clay project has been fish- Third Grade Clay Fish
After looking at the PowerPoint, we brainstormed as many different animals as we could think of who live in the Great Barrier Reef. Each student had to create 2 drawings in their sketchbooks of different animals. They were allowed to use the resources that I had available for them or use the Netbooks to look up animals.
Once we had our drawings ready, I did a demonstration of how they could use the clay to build their animals.
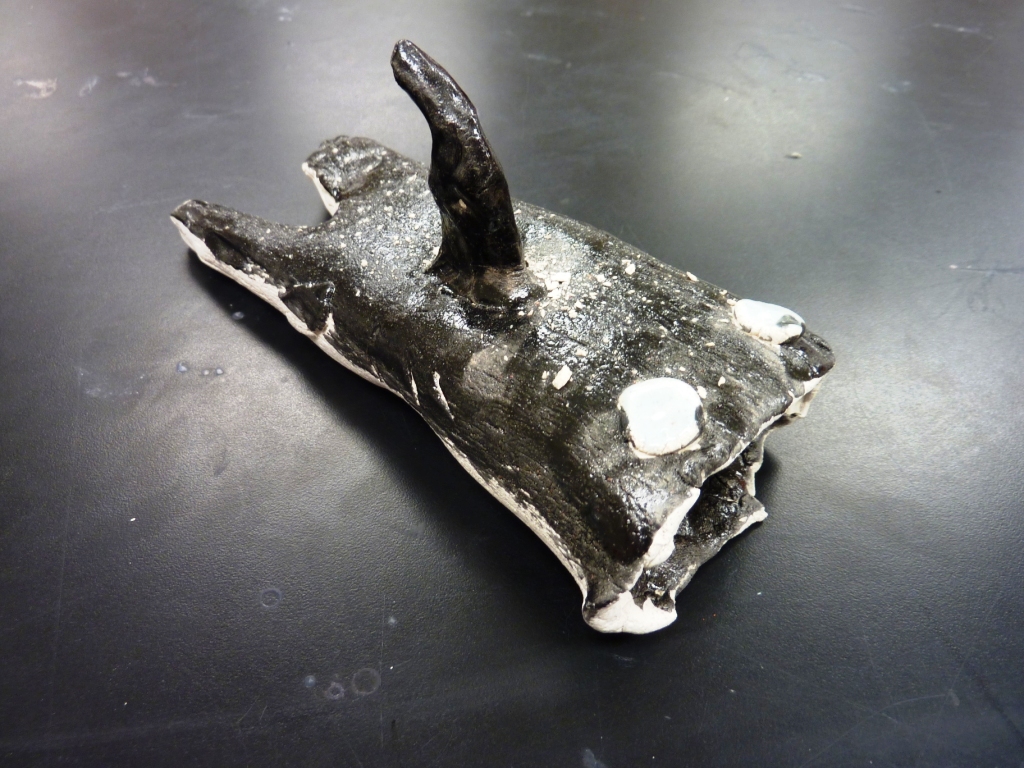
Here are some of the animals that were created:
Pin It
This year, in keeping with 3rd grade's study of Australia, their clay project was about the Great Barrier Reef.
I found this great PowerPoint online (unfortunately, I don't know who created it, so I can't give the appropriate credit. Sorry!)
After looking at the PowerPoint, we brainstormed as many different animals as we could think of who live in the Great Barrier Reef. Each student had to create 2 drawings in their sketchbooks of different animals. They were allowed to use the resources that I had available for them or use the Netbooks to look up animals.
Once we had our drawings ready, I did a demonstration of how they could use the clay to build their animals.
Here are some of the animals that were created:
Pin It
Labels:
clay,
glaze,
Great Barrier Reef,
PowerPoint,
third grade
Subscribe to:
Posts (Atom)