This year's project added a couple of choices for the students:

1. copper repousse by itself

2. printmaking

3. copper repousse and printmaking together
I stressed to the students that those that opted for choice 3 would really have to stay focused, since they would have a lot more to do to complete their project than the other options.
From there, we began our project by creating 2 practice drawings in our sketchbooks, after having read the book, Musicians of the Sun. They were allowed to create a drawing based on one of the characters and stylize it as they saw fit.
We learned about complementary colors and they colored their sketches.
They chose 1 of their drawings and copied it onto a piece of 5 x 5 manila paper, without coloring it.
As they were doing this, I began meeting with small groups to demonstrate the steps for each different project.
Project 1:
 They taped their manila paper to a piece of copper and traced the design. I made sure that they knew they had to place their copper/manila paper on top of their sketchbooks in order for the design to come through.
Then they took their manila paper off and used their pencils to color in different parts of the positive space, making these "pop out" of the copper- lots of oohs, aahs and Wows! during this stage.
They used Sharpies in their chosen complementary colors to color their design and it was glued onto a piece of black construction paper.
Project 2:
 The manila paper was taped onto a 5 x 5 piece of Styrofoam. The design was traced with their pencil.
Then they took their manila paper off and used their pencils to color in different parts of the positive space (same as the copper project).
They picked up 4 pieces of construction paper (2 of each of their complementary colors) and went to my printing station. They created 4 prints that were exactly the same and set them on the drying rack to dry. The next week, they came in and glued these onto a piece of black paper.
Project 3:
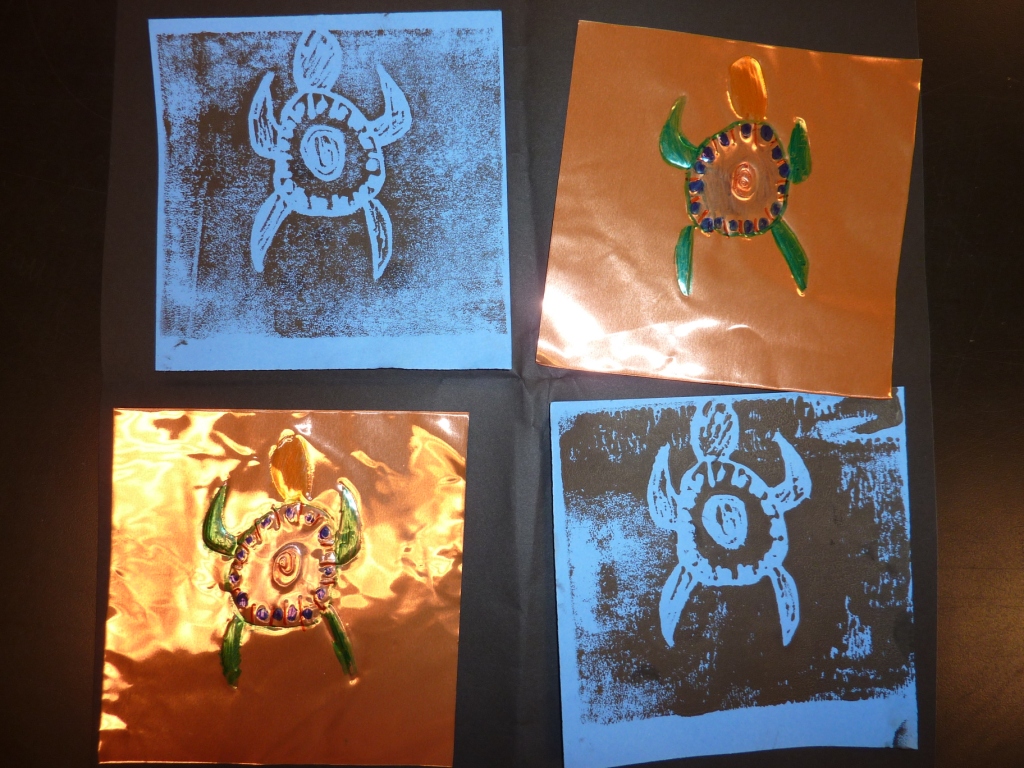 This was a combination of the 2 projects. I had them start with the Styrofoam. However, instead of creating 4 prints, they only created 2. When these were completed, they used the exact same piece of manila paper with their design on it and taped it to a piece of copper. They followed the steps for the copper project, however, they had to create 2 pieces of copper instead of only 1.
All of their pieces were glued onto a piece of black paper.
All in all, giving the second graders these choices worked pretty well- better for some classes than others, but as a whole, well. I think it will work much better the next time, because they will be used to making their own choice, reading directions and problem solving, instead of depending on me to give them all of their answers.
Pin It


