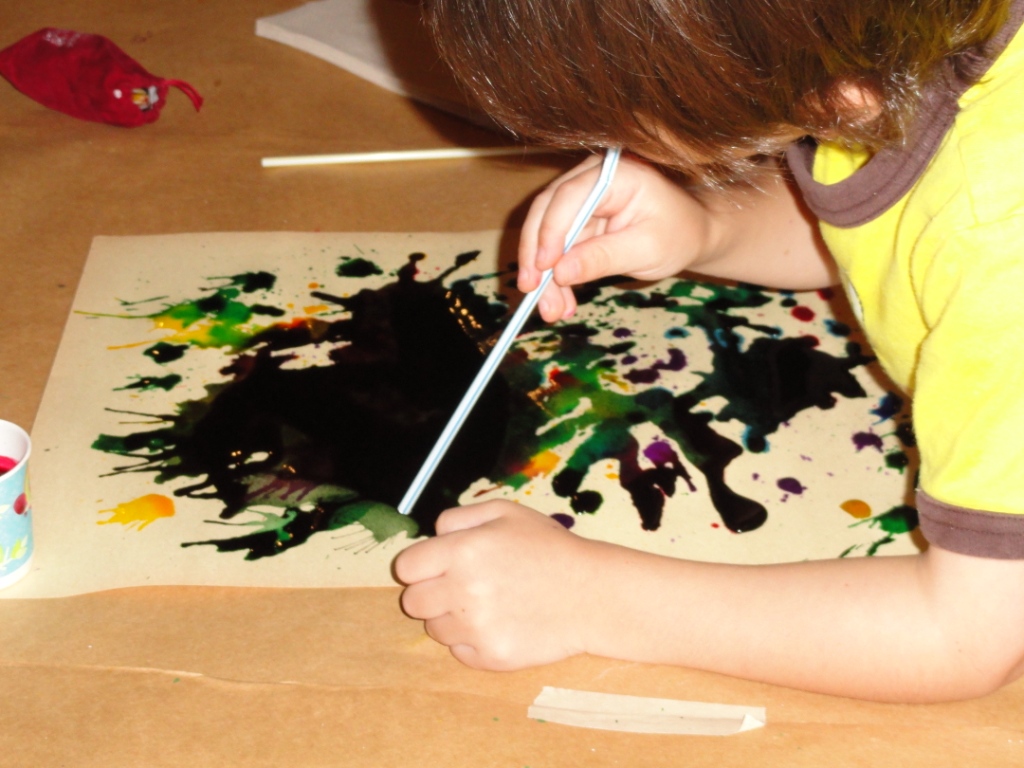
 For our younger children, we did ink blot painting. I had liquid watercolors, eyedroppers and straws. I had the parents help the children drip the paint onto the paper and then the children used the straw to blow the paint around the page.
 This was probably my favorite project today. If I could have gotten away with it, I would have taken a few of the paintings home to frame! I absolutely love the vibrant colors of the liquid watercolors! The children loved it, too, because many of them had never used this medium before.


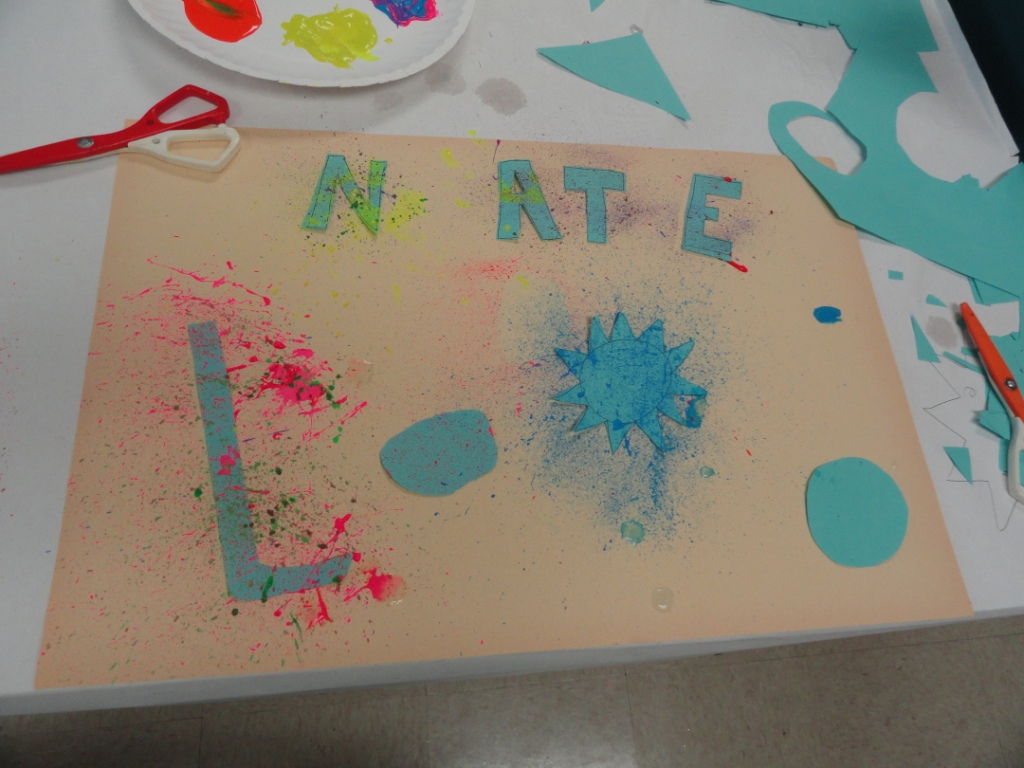
 The next age group did stencil paintings. They cut out shapes from manila paper. Some cut out their hand print (since we had been talking about cave paintings). Others got creative and cut out the letters for their names. They placed their stencils onto their papers and were then given paper plates with neon tempera on them. They used toothbrushes that I had bought at Dollar Tree (5 pack for $1) and splattered their papers with the neon colors. When they had finished spattering their papers, they pulled off their stencils and they were left with the outline of their images.




This little girl decided that her hands were a work of art by themselves!
 And our last activity of the day was creating cave paint with dirt. Cave Paint
 I brought in potting soil and vegetable shortening. I gave the children a cup and a spoon. They added dirt and vegetable shortening to their cup and mixed it together. Once they had the consistency they liked, I added a little bit of paint (giving them a little variety in their color). I gave them a choice between black, white and brown. They mixed that up and then used paint brushes, spoons and some even used their fingers to paint their cave paintings onto their paper.
This was a hit!!!! Even the parents liked this one. None of the children had done an activity like this before, so they were fascinated by creating their paint out of dirt.


